
How To Make The Perfect Wax Seal With A Melting Spoon & Furnace
We have put together a little guide on how to create the perfect wax seals !Including all the materials you'll need.
As well of tips and tricks we have learnt along the way.
Lets get started!

OUR ESSENTIAL WAX SEALING SUPPLIES

Image with text
WHAT YOU WILL NEED
- Bowl of frozen water
- Tissues
WE ALSO RECOMMEND
- Wax sealing mat
- Adhesive wax stickers
Or purchase our make your own wax seal kit with the items you need
TIPS AND TRICKS
- When your beads are melting it helps to mix them so they heat evenly. If your wax is bubbling then its a sign that the wax is too hot!Take it off the furnace and mix it with with something to cool it down
.-Our GAME CHANGER using a bowl of frozen water to cool your stamper down between stamping. This will prevent your stamper sticking to the wax and allow for super speedy stamping! Just make sure you properly dry your stamper before using it.
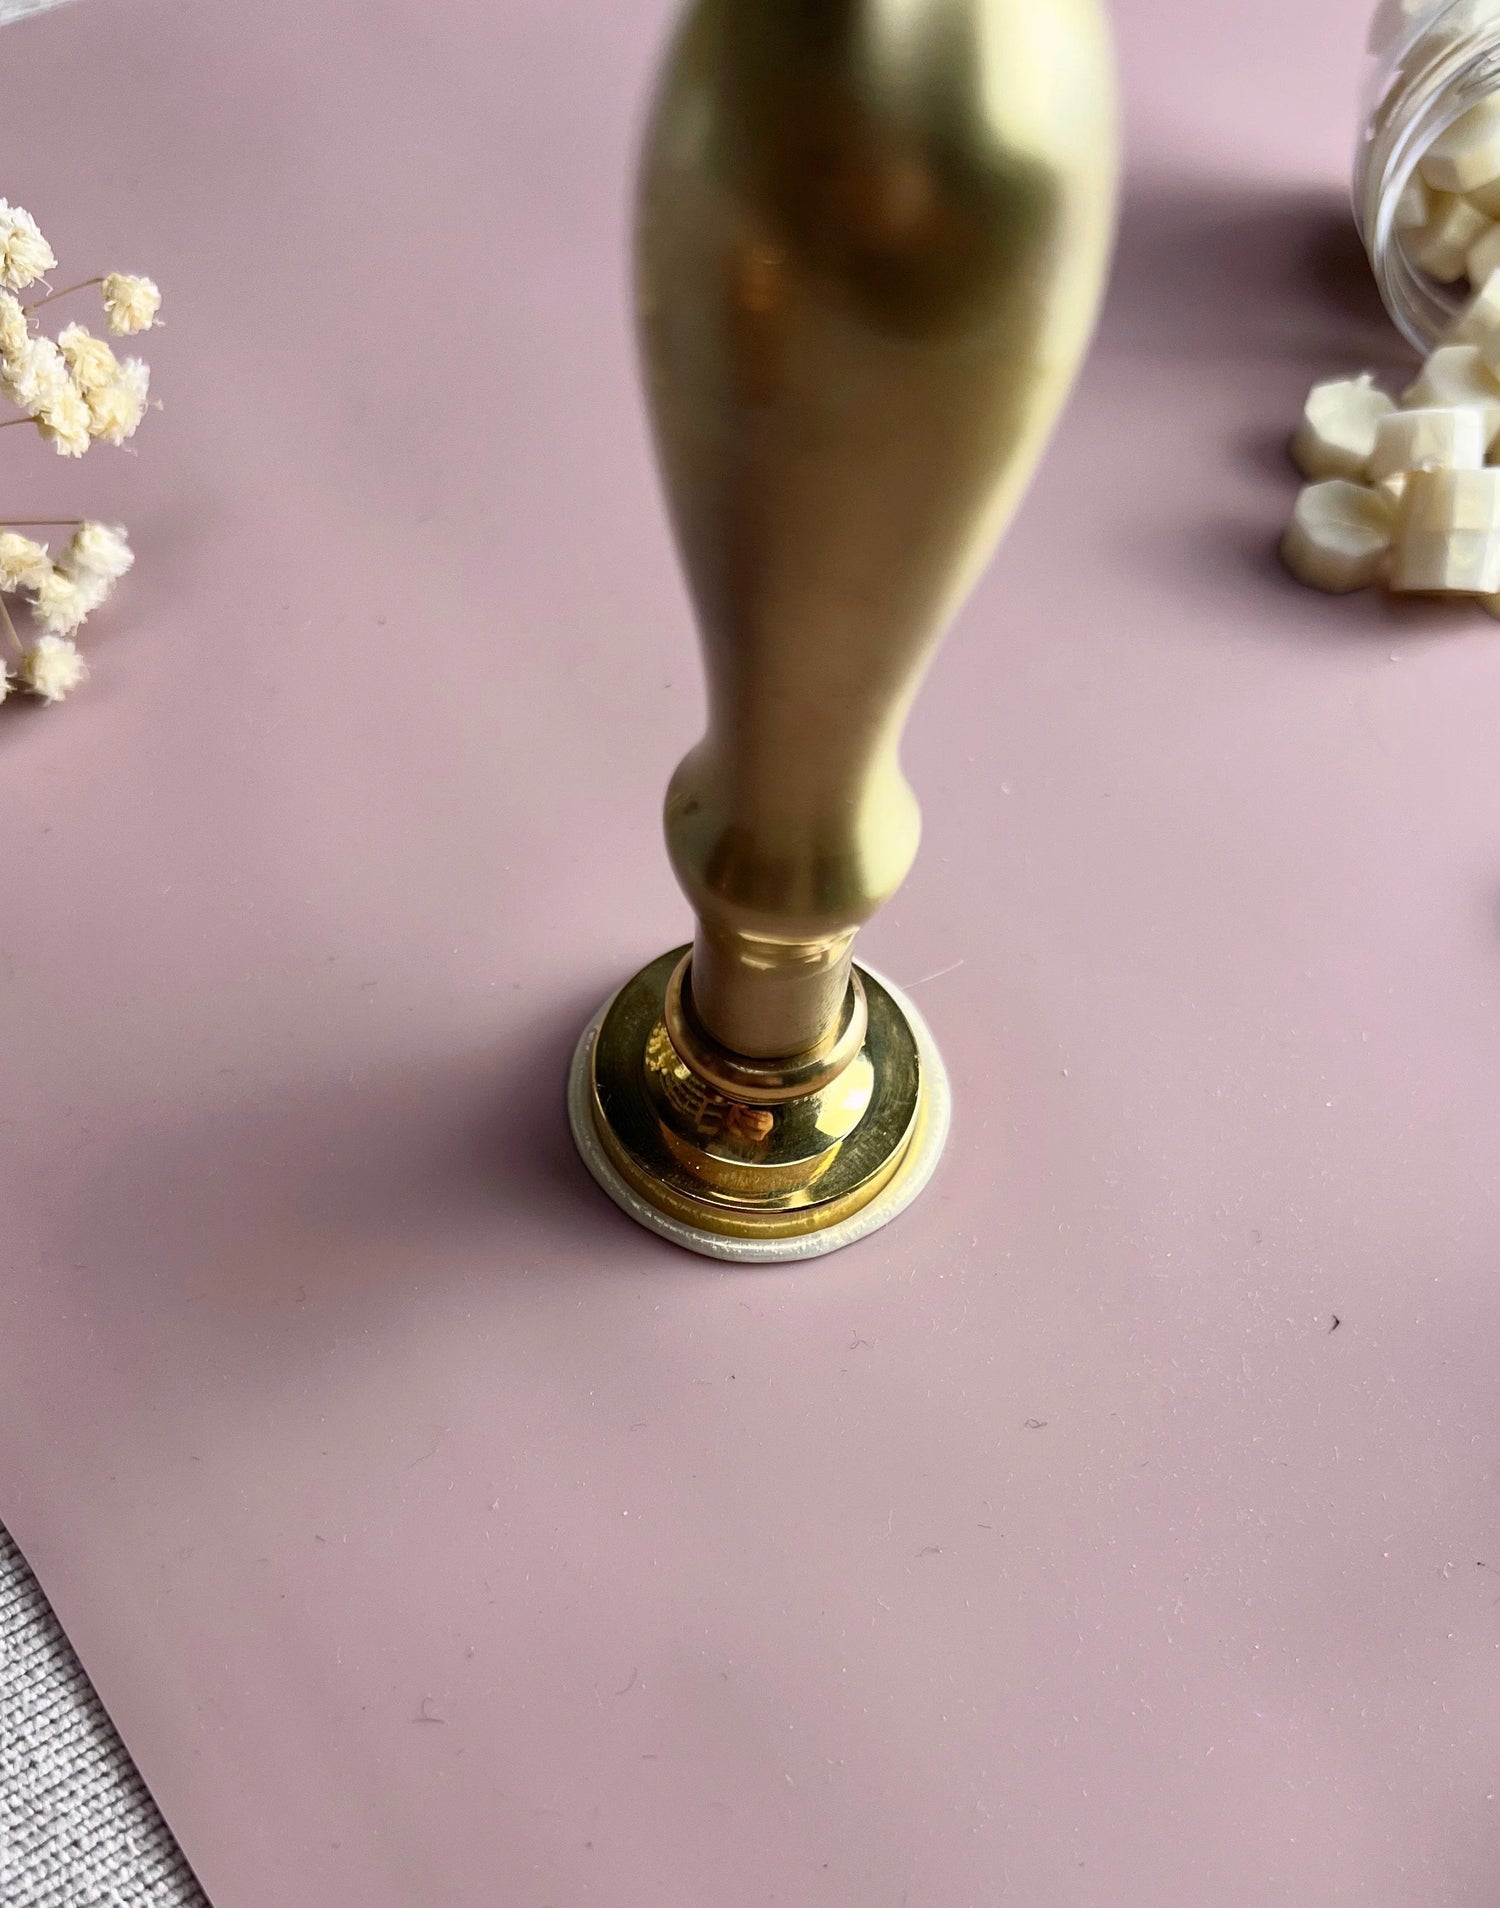
-When your making your stamps if you get some funky lines on the seal this is because you aren't pressing down quicky and firmly. For smoother stamps make sure you press down as quickly and as firmly as you can. This is why we love upgrading to our gold handles as they have more weight to them so they help to keep the seals smoother.
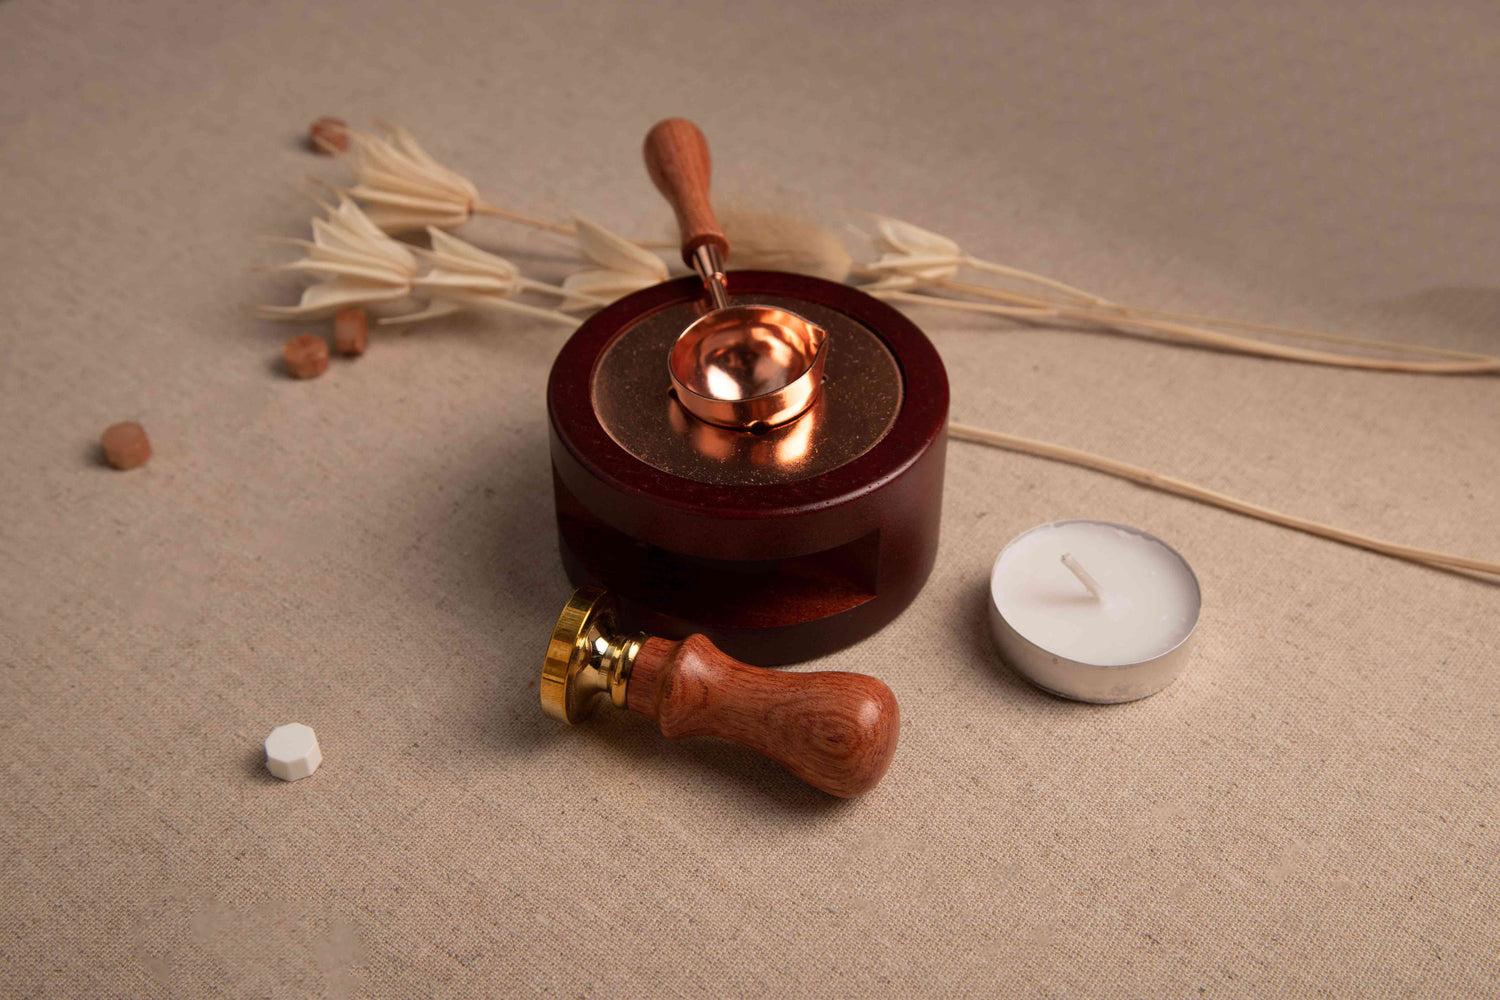
STEP ONE - MELTING
Light your tea light candle and place it under the furnace. Place the spoon on the top of the furnace and pop in your sealing wax beads.
We recommend around 4 per seal but you can put more in.
Its essential to mix your wax when they are melting to make sure it melts evenly and it helps them to melt quicker too
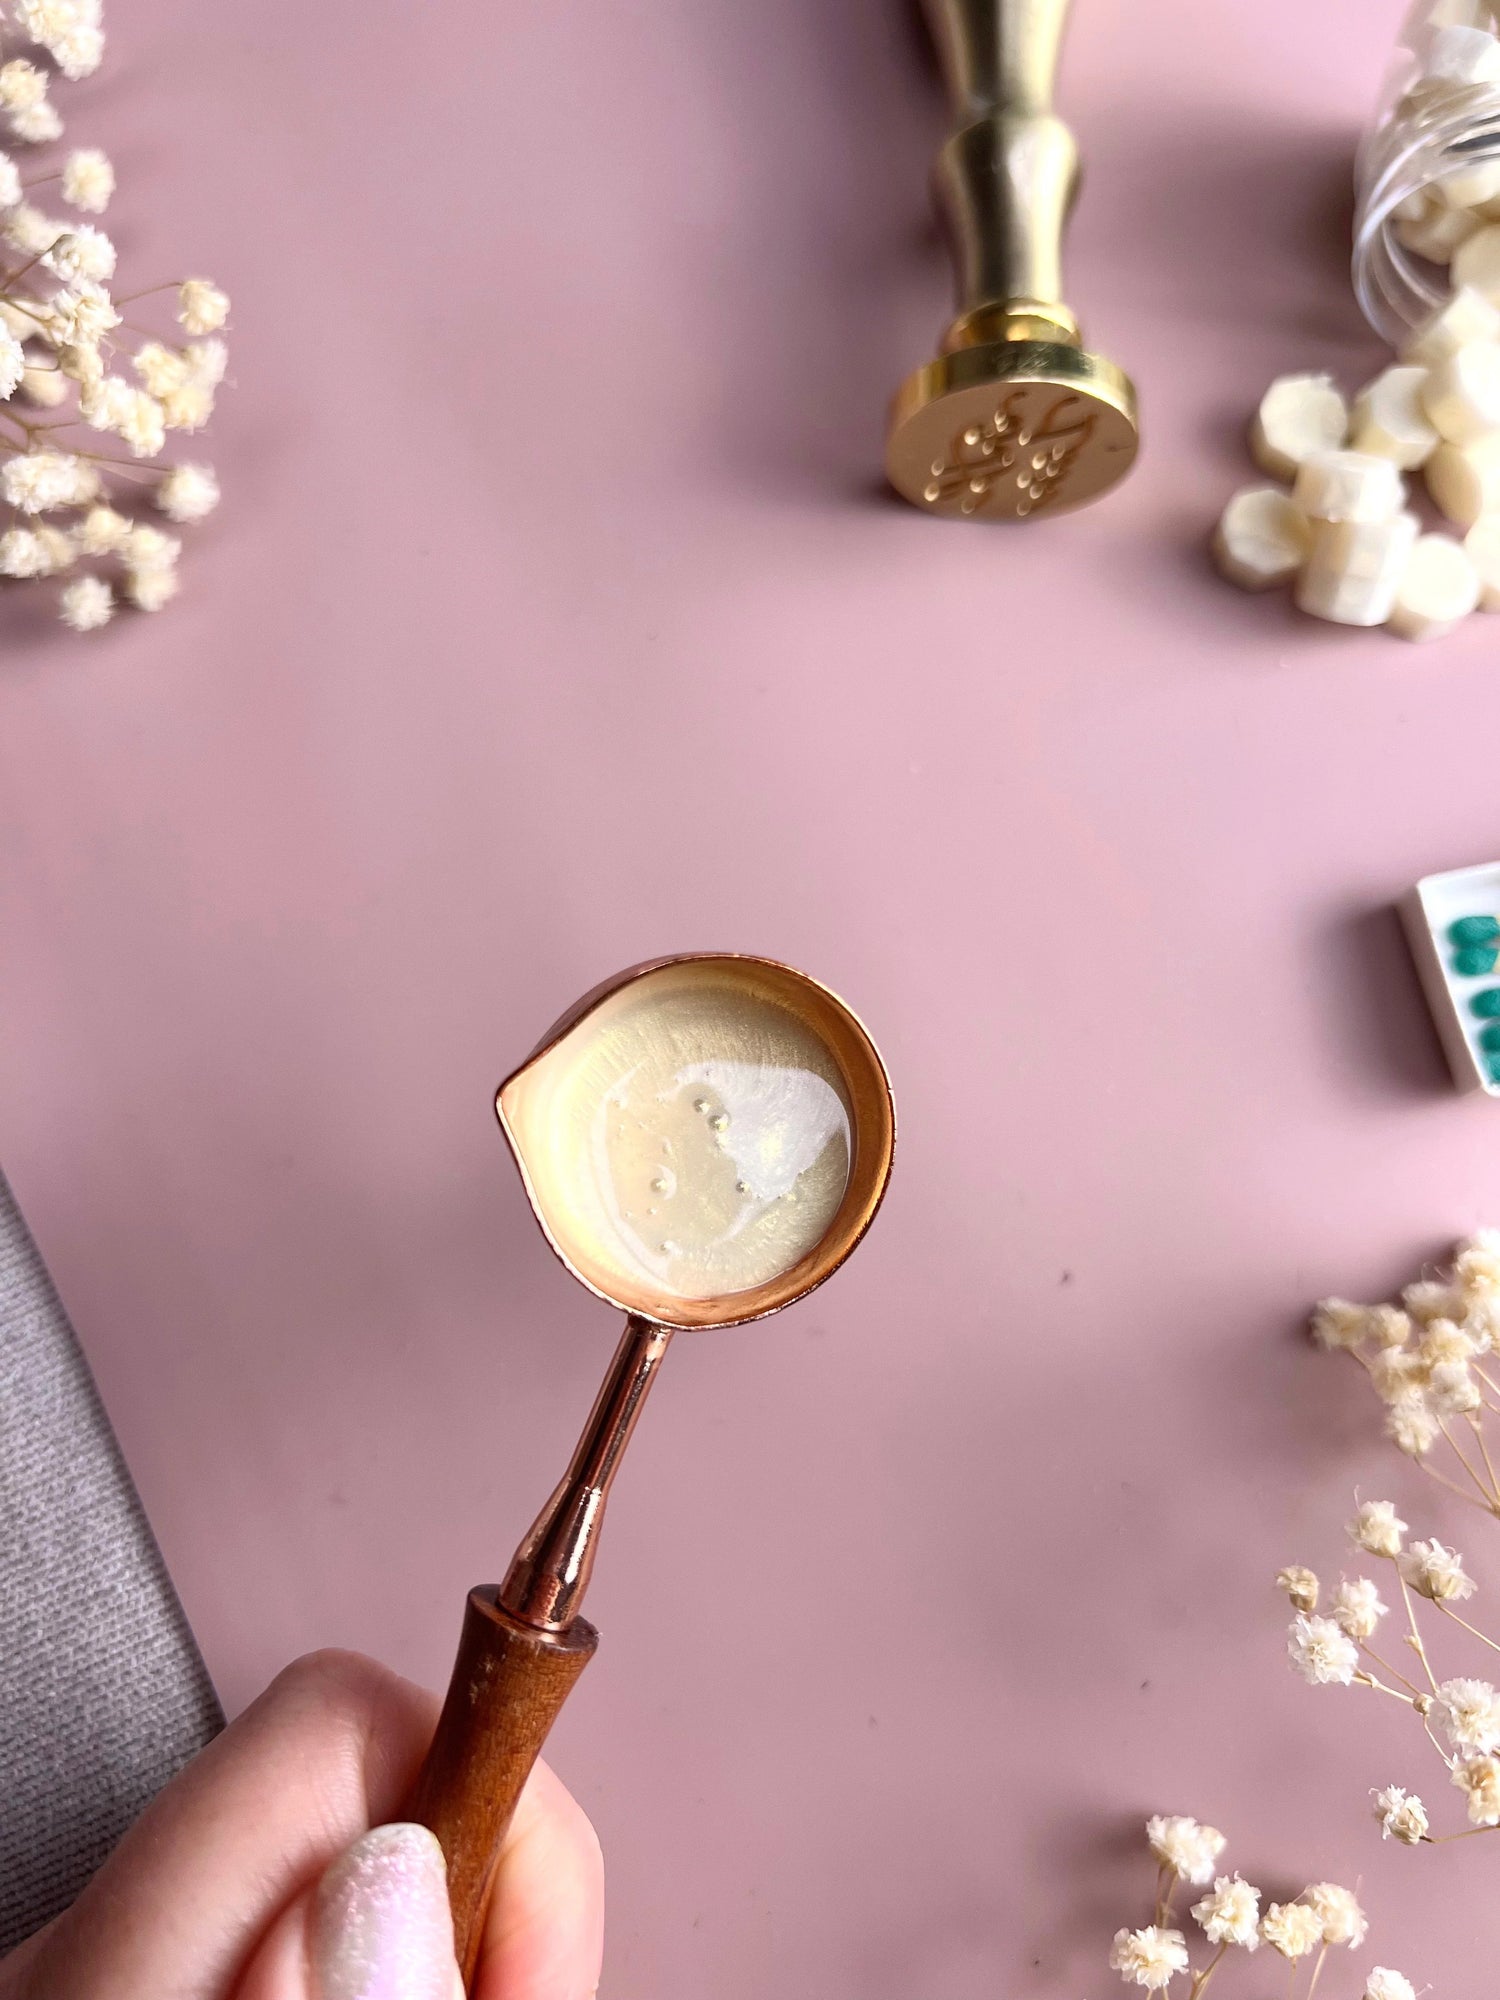
STEP TWO - POURING
When the wax is melting you can pour the wax onto your project.
We recommend just smaller than a £1 size for a 25mm size stamp.
STEP THREE - STAMPING
Take your stamper from the bowl of ice and ensure your dry it properly so there is no water on the stamper.
Then quickly and firmly press your sealing stamper onto the wax.
If your stamper is fully cold you should be able to pull it straight off easily, you should be able to get 3-4 seals out of one cool before it gets to hot and needs to go back onto the ice.
We normally do 3-4 blobs of wax so you can do them all together.
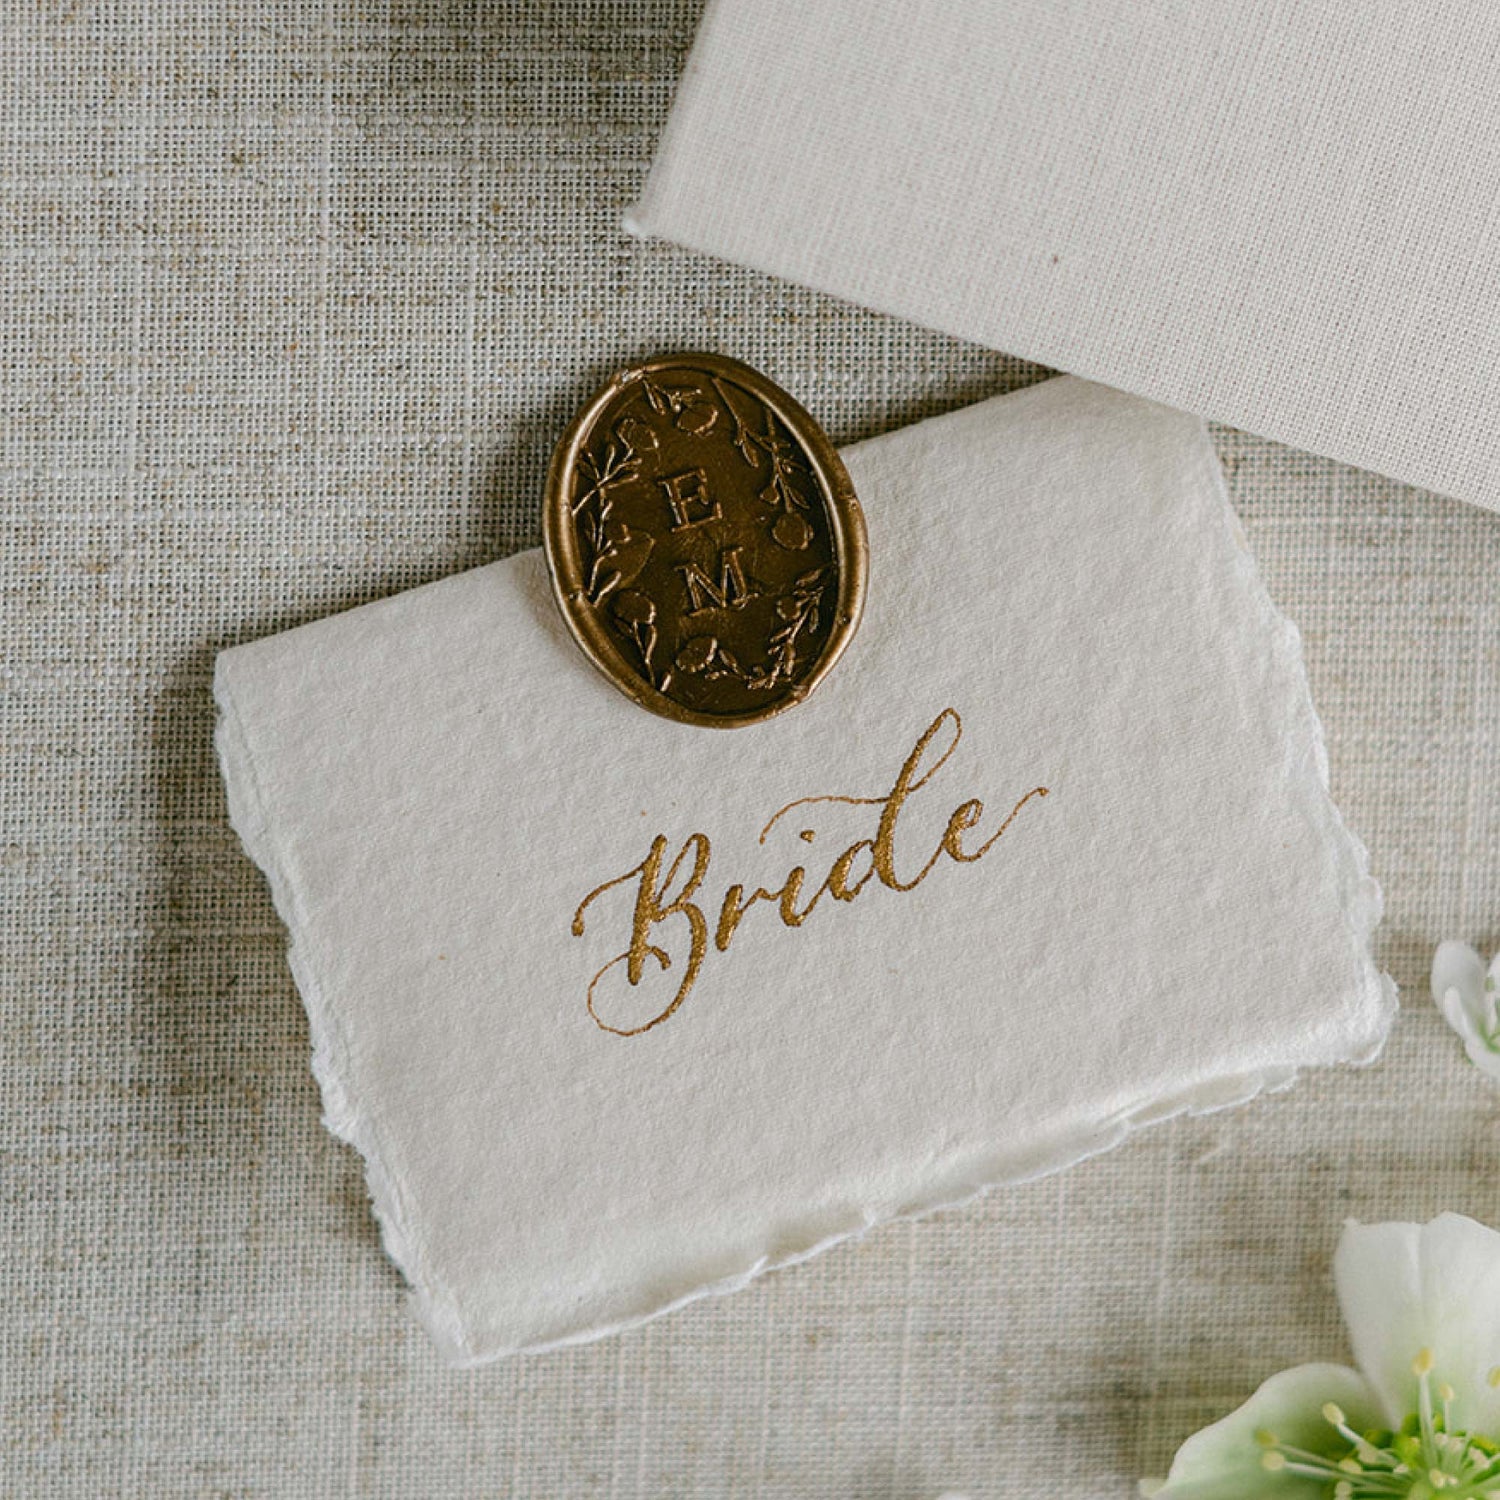
STEP FOUR - STICKING
See and enjoy your wax seal! When sealing you can either do it direcly onto your project or make them in multiples on our wax sealing mat and apply our adhesive stickers so you can stick them onto your project.
SHOP NOW
-

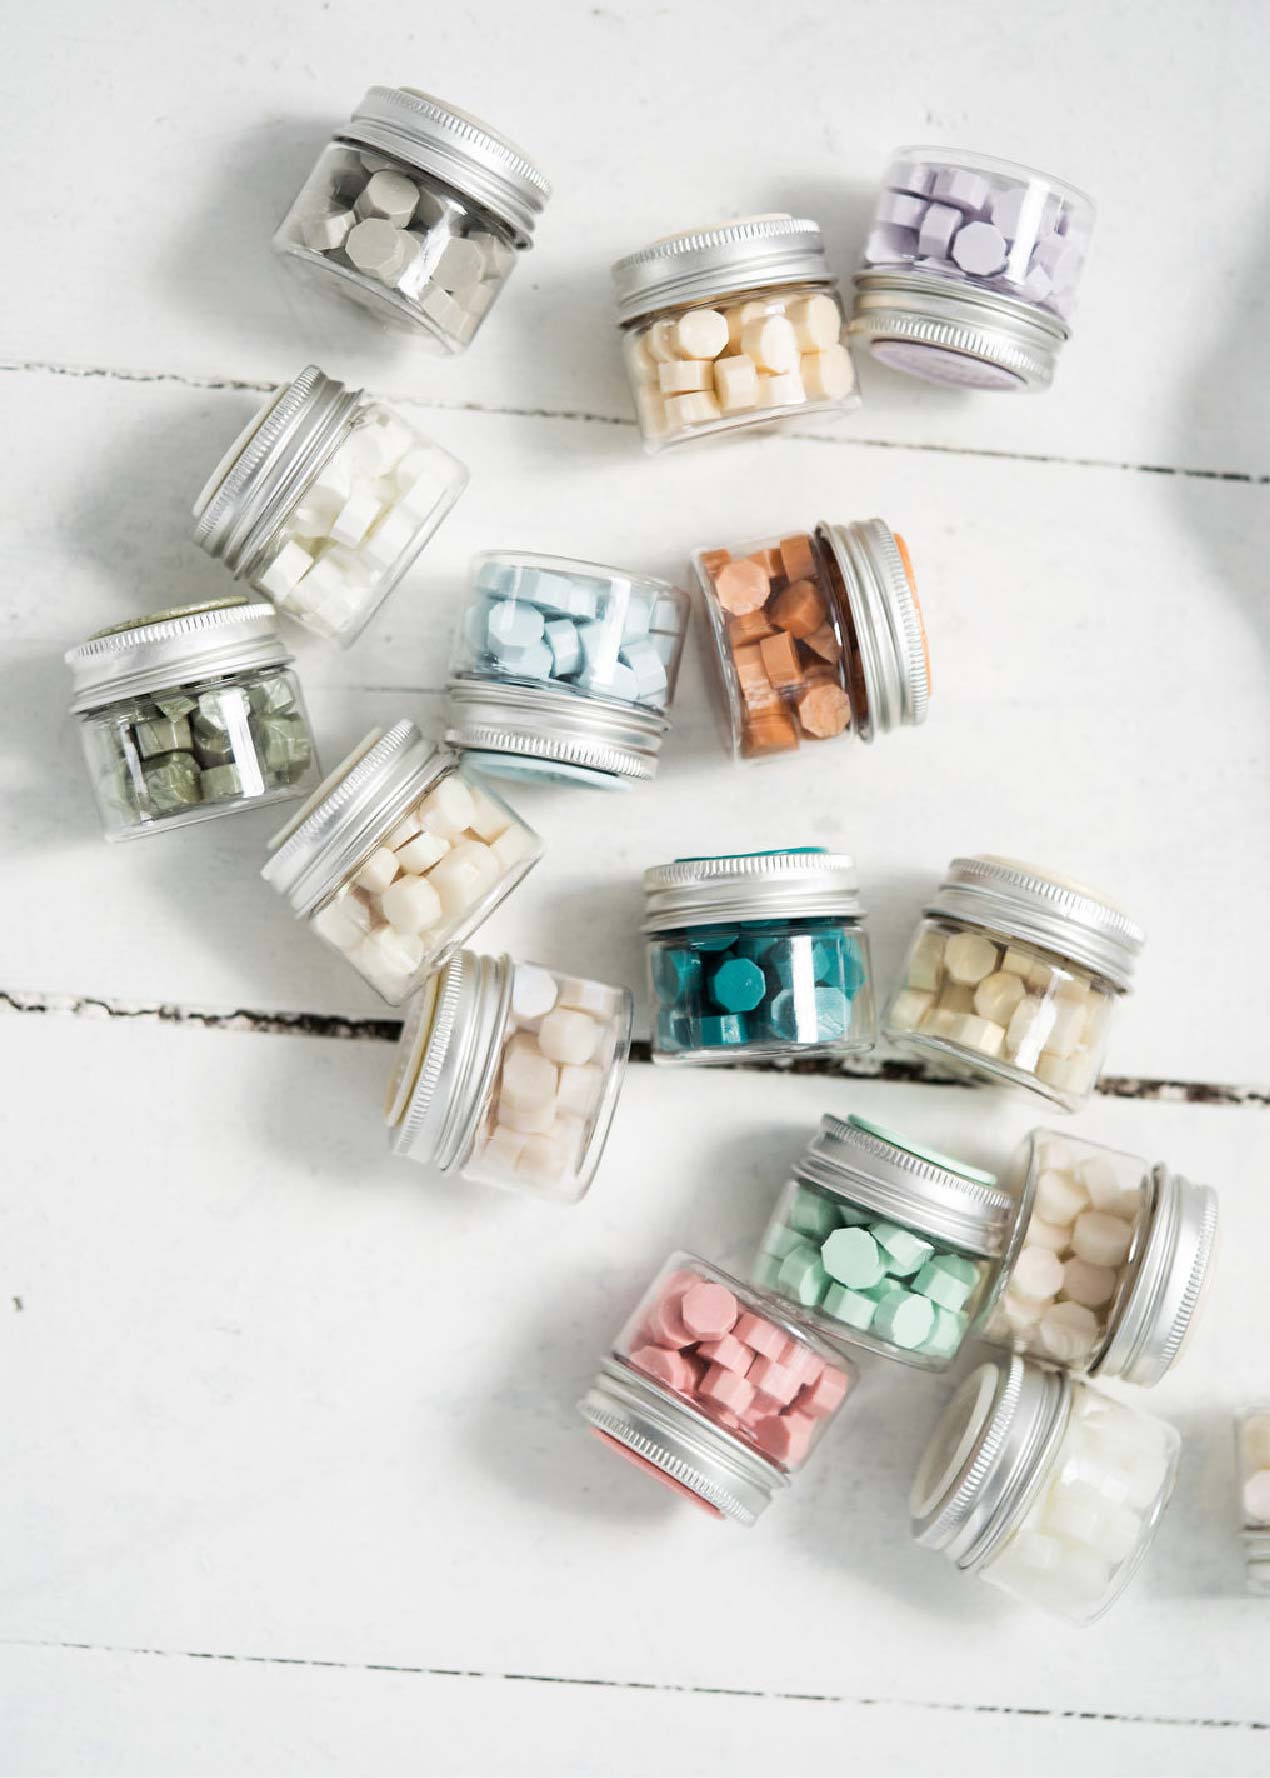
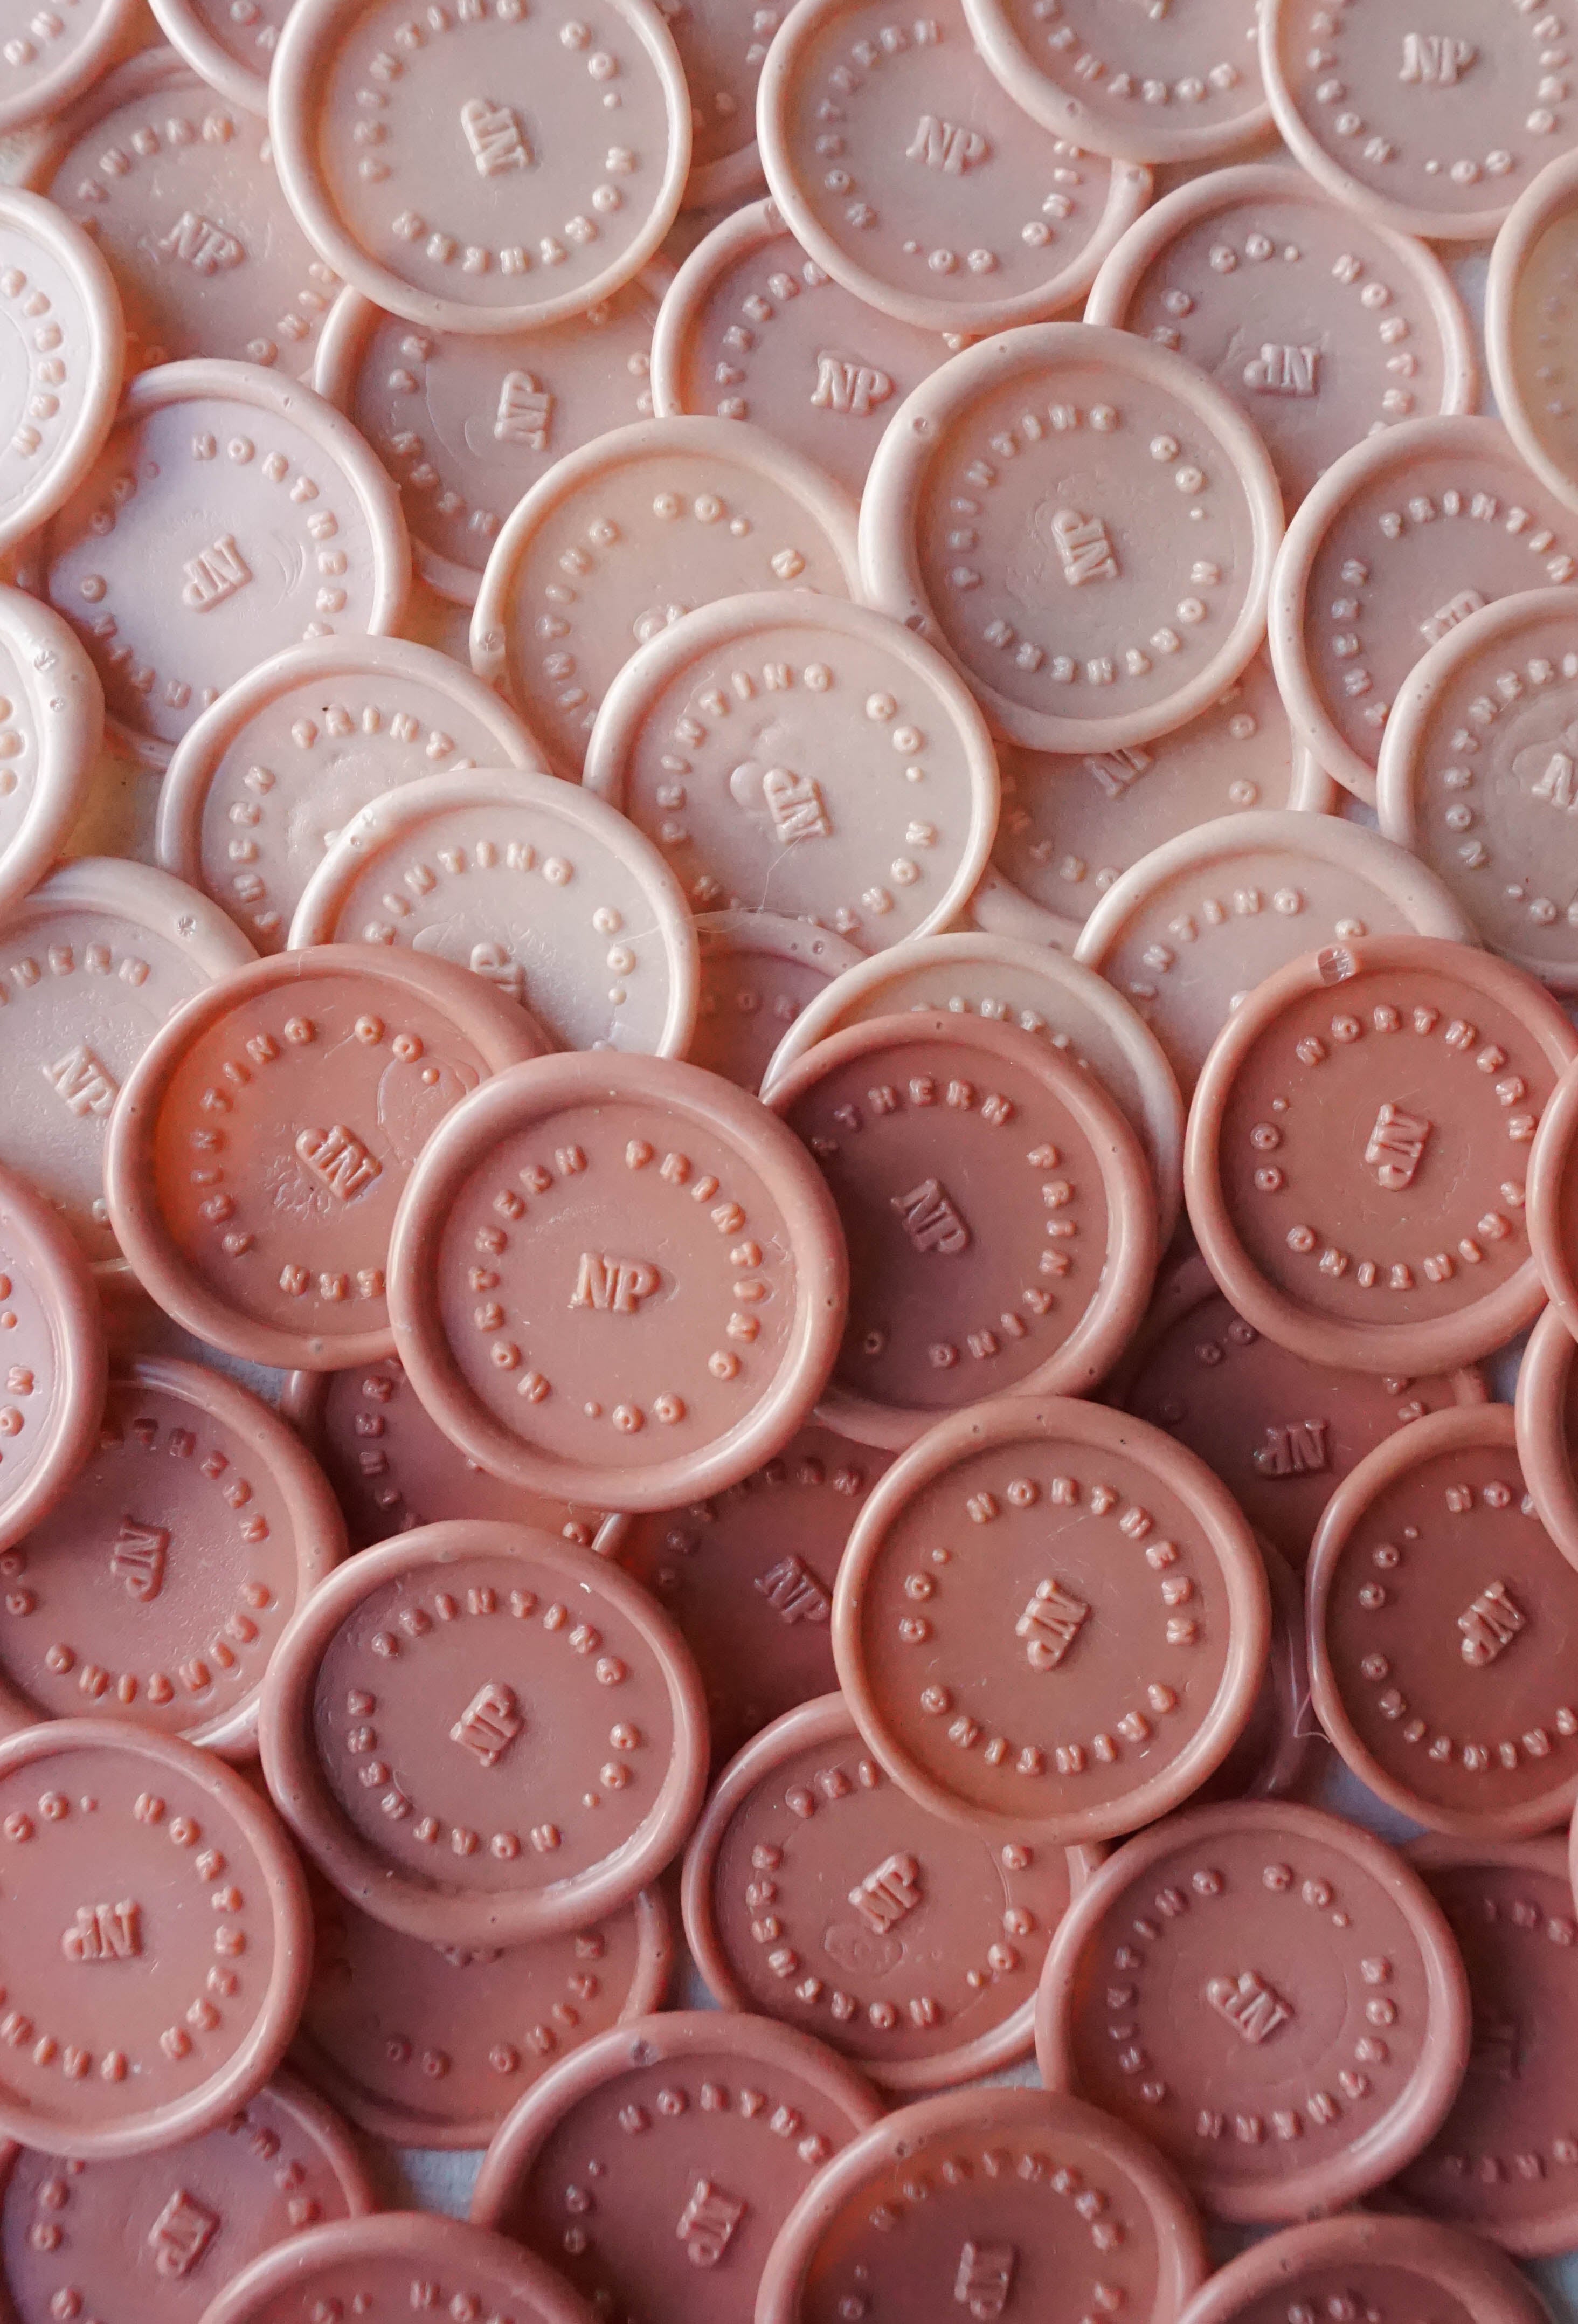
Sealing Wax
Elevate your wedding and business stationery with Northern Printing Co.'s sealing wax. Our extensive...
-

Tools & Supplies
Our passion for creativity extends beyond wax sealing. In this section, you'll...


Blog posts
View all-

Modern Wedding Table Numbers Featuring Acrylic ...
Modern wedding table number showcasing dimensional acrylic lettering and deckled edge handmade paper in a timeless beige colour palette
Modern Wedding Table Numbers Featuring Acrylic ...
Modern wedding table number showcasing dimensional acrylic lettering and deckled edge handmade paper in a timeless beige colour palette
-

Gold Foil On-The-Day Wedding Stationery on Hand...
Printed on handmade paper and finished with delicate gold foil detailing, this order of service is designed to elevate your ceremony while complementing a refined wedding aesthetic.
Gold Foil On-The-Day Wedding Stationery on Hand...
Printed on handmade paper and finished with delicate gold foil detailing, this order of service is designed to elevate your ceremony while complementing a refined wedding aesthetic.
-

Tonal Sage Letterpress Wedding Invitations on H...
Luxury handmade paper wedding invitations in muted sage and soft green tones. Featuring tonal letterpress printing, a blind debossed monogram, and organic deckled edges.
Tonal Sage Letterpress Wedding Invitations on H...
Luxury handmade paper wedding invitations in muted sage and soft green tones. Featuring tonal letterpress printing, a blind debossed monogram, and organic deckled edges.


